Showing posts with label project lately. Show all posts

Monday, July 8, 2013

50!!

Well. I said I was back. Apparently, that wasn't the case.

I've just felt a blank. I've been busy. And needed to make some goals. 

So here are 2 I'd like to share with you. 


* 50 miles in July. Following honeyholden's idea- getting in 50 miles in July. Mostly walking. I've been a little discouraged because in February, I was up and running, literally, every morning. Then I just stopped. And I can't get running again. But I got a new stroller and it has made getting out MUCH easier. To be honest, I don't feel this is as strenuous of a workout as I'd like. But (1) I am pushing a 70 pound stroller and (2) this is Texas in July. Enough said.

Making it better are these shoes and these shorts.


Nike Tempo running shorts


* 50 letters. I'm writing letters to influential people in my life. Nothing special- a little note on a paper explaining my project and envelopes decorated by the chicks. Markers, watercolors. It's been fun and
challenging. Some are obvious- family members and best friends. Former teachers. A few are going to people who I don't really know but have inspired me or that I admire. I'm nervous to mail a few of them out! I think I'm going to save them and mail them all at once. I've done 19 so far. 


So there's a little update on the ole blog front. This post has taken FOREVER (hours!!!)
because I'm trying to get used to doing it on the iPad and finding the photos and linking up. Urg. We'll see if it gets easier!! 


Wednesday, November 28, 2012

project lately: string art tree

hi friends!

sorry- been absent lately... thanksgiving came and went and so did a flurry of delicious food (15 pounds of potatoes to peel and 9 pounds of green beans to snap), sweet sister in town for a week, brothers and extended family EVERYWHERE and i have loved it! plus, working on some big things- big girl beds for the littles and christmas decorating and a nasty bug that won't leave our family alone!

anyway- here's a little project lately. wanted the chickies to have something to play with and leave my big tree alone so i whipped up this string art tree.  


 i feel silly making a tutorial for this so i'll just give some basics....

*  bought the board off the scrap cart at home depot.  uh- 51 cents?  i'll take it.  it is big- 2 feet by 3 feet maybe and is made of pressed wood.  really heavy.
*   painted board with white paint found in the paint cabinet. 
*  using a sheet of freezer paper, made a stencil of a tree and outlined it on my board. 
*  to husband's dismay, nailed my panelboard nails around the outline while duck dynasty played.
*  using brown and green yarn, started wrapping.  i did the little rectangle for the trunk first.  then i sectioned my tree into 4 triangles to sting the yarn.  that way if the girls unravel it, i won't have to redo the whole thing.  when i finished stringing the yarn in the sections, i did some lengths from top to bottom and across the whole thing.  
* to make the oranaments, i just used a circle punch to punch out circles.  smeared glitter glue on them to give a little sparkle.  while those dried, i cut paper clips in half and used some pliers to bend them into a candy cane shape. then i just made a little sandwich; foam, wire hook, hot glue and foam.  
* to make the garland, i used a roll of beaded trim. cut into several short lengths. i glued paper clip hooks on the end using hot glue.
* since the background is white, i used white velcro circles to attach a star onto the background.  you don't see the circle when the star isn't there.  and same for the little bag.  it holds all the decorations when they are off the tree and can just come off to make it easier for the girls to hold. 


they love decorating their own tree. it's pretty cute to just have leaning against a wall-  i didn't mount it or anything.  

after the fact:  i might brush watered down glue on it just to potentially prevent all the yarn from unraveling and make it stiffer.  older kids would be much more careful than my littles.  mia has trouble getting the ornaments off alone.  it would also be cute to let older kids decorate their own ornaments or use real shatterproof ones.   

lots of potential, dears.
take care!


Friday, November 9, 2012

project lately: burlap wreath

just thought i would pop in and show my morning project for you... 

nothing special- in fact, these burlap wreaths are all over right now.  i love them!  they are so classy and rugged and EASY! 

i only wanted to share some tips because when i was looking for a tutorial, (which there are many and they are good!) they all said the same thing- just weave your burlap in and out and fluff up your loops.  which is EXACTLY what you do- but i was still clueless. that seemed so vague and directionless! so after making a few, i wanted to post some tips in case you need a little more guidance getting started.   

one thing i wished someone would have stated in their tutorials also is that burlap STINKS and is super messy.  so don't wear a black cashmere sweater and you should probably do this project outside!  seriously, what do they use to make burlap rolls- seems a little toxic?? anyhow. moving on. 

 start with your supplies:  a roll or rolls of burlap (mine took about 10 yards total), scissors and a wreath form. [i also used some chevron fabric to gussy it up a bit at the end. and i thought i would need the twine but didn't.]

one thing that helped me a BUNCH was to take my burlap, unroll the whole thing and cut it into thirds. each is still long-10 feet- but  this made weaving much more manageable.  


start with one end of your burlap, knot it onto your wreath form on the inner rung.  it won't show.
 now take that long tail of that piece of burlap and pull it through the middle space. then make a little figure 8 and weave the tail through the middle section again.  
that's all it is- but it took me AGES to get the hang of it.  don't worry about the burlap being twisted or scrunched up- adds character! every so often, loop through the first rung instead of the middle.  just weave, making figure 8's as you go along. 

{you can see my ghetto photo-editing here with the turquoise arrow guiding you through the second part of the figure 8. it's real bad.}

i tried to make about 5 or 6 loops per section of the wreath and used one of my long 10 foot pieces about 3 sections.  nothing exact.  when i finished with a piece, i just tucked it in securely somewhere and started again with a new long burlap strip.   i knotted each new strip but i think tucking would work just as well. 
 helps to have your old handsome dog giving support.  


 there she is!  really quick project.  i love that is can be changed out easily- glitter snowflakes, silk flowers, peacock feathers, an initial.... endless possibilities.  


i used that chevron fabric to stick in a few loops here and there.  not even secured very well- i can pull them right out when i'm ready to update for Christmas.  (which i totally am already, but restraining until after turkey day....)


i need to be sure to thank my supporting cast members who all diligently gathered around and got under my feet and all twisted up in burlap.  thanks for letting me indulge in a quick project, everyone....

Friday, October 5, 2012

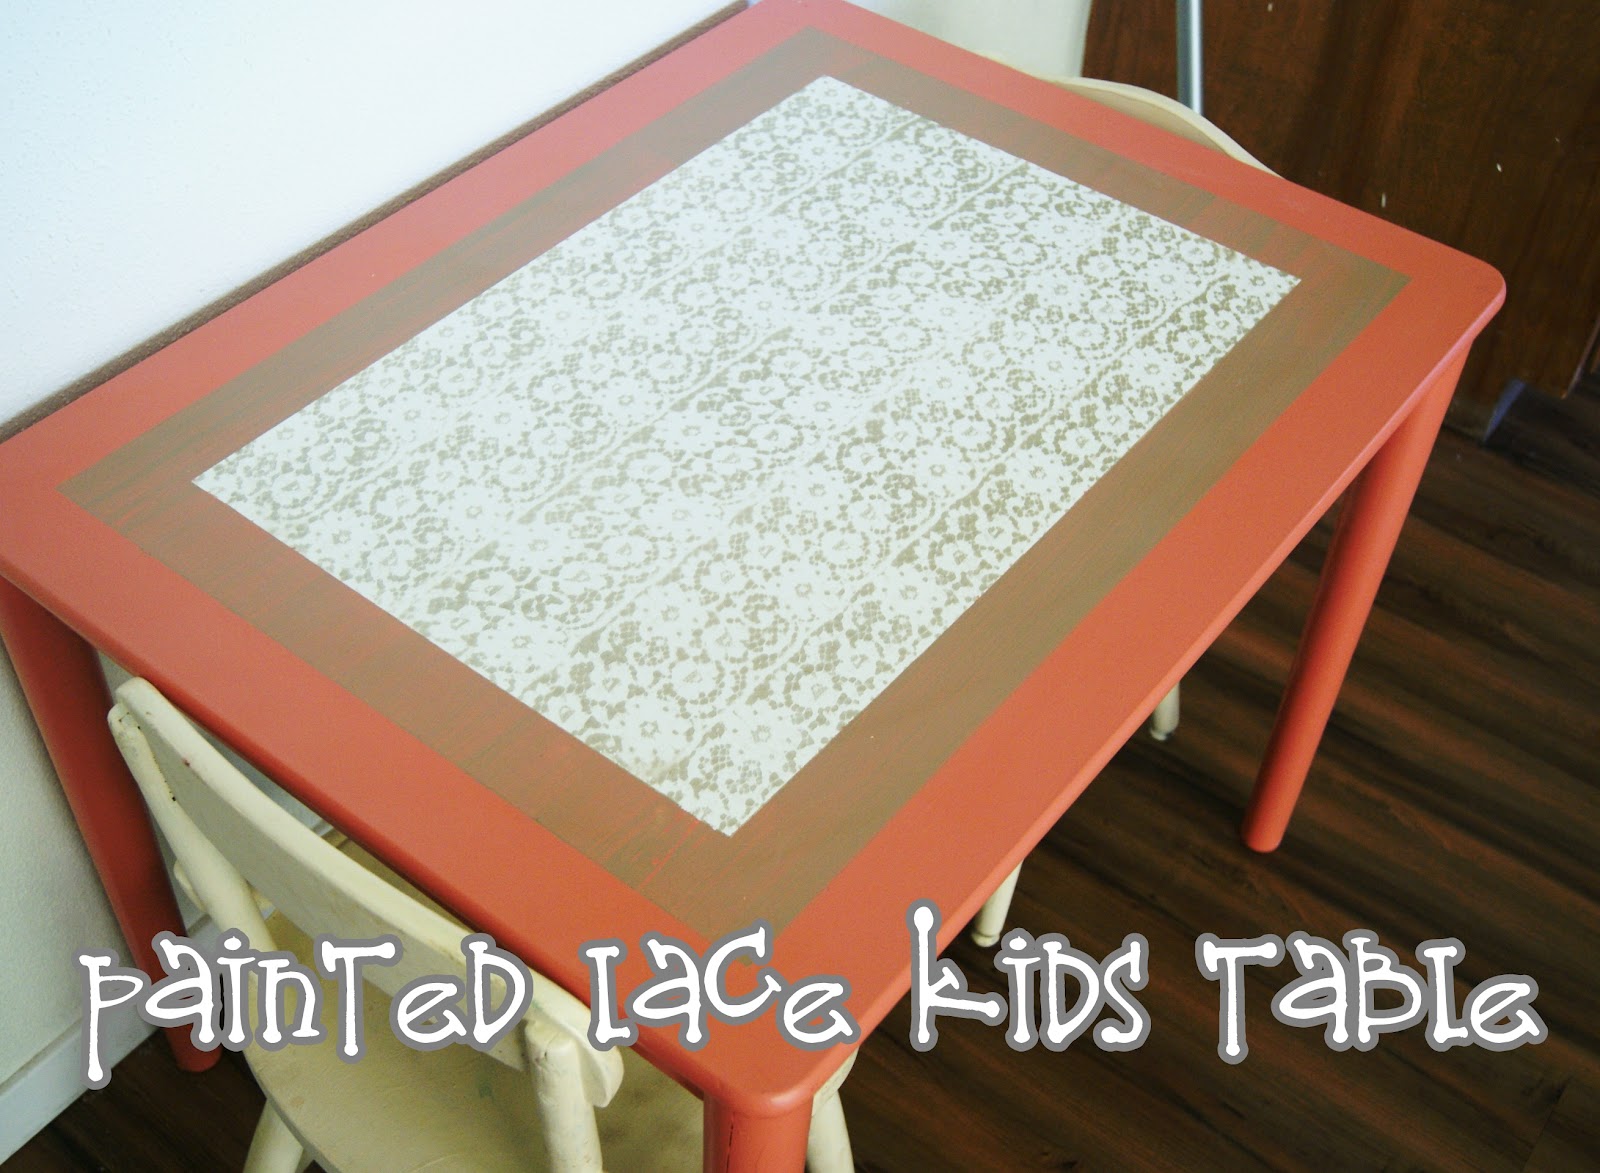
project lately: painted lace kids table

hi!

we recently acquired a hand-me-down white table and i made it my own.  paint.  that's what i do.

not a step by step tutorial with pics, because frankly, this project was a let's do this, ok, hmm, let's do this... and use what we have.  and i was lazy.  what's new.

i wanted a chevron table but thought if i didn't get it perfect, i would go bonkers looking at it everyday.  and i might put this little lady in the playroom when it starts to get yucky.  but i definitely DIDN'T want to keep a white table in the kitchen for the chicks to eat on.  especially nutella waffles.  gross. this disguises messes much better. 

basically i:
*  used painter's tape to tape a rectangle off the top,leaving a space around the edge. i wanted to have a matching leg/top border.  press hard on that painters tape so paint doesn't seep under.
*  painted the legs and the edge of the table top (space 1) a coral color i had in the paint cabinet.  it's persimmon red by martha stewart.
*  using that tape, make your lace rectangle (space 3). i used rolls of some vintage lace about 3 inches wide.  i was searching for a regular, rectangle shaped piece of lace, which would have been easier, but couldn't find any.  i used spray adhesive to fill in this whole space, using 5 strips of lace.  you can see the strips in the finished piece.  it annoyed me at first, but oh, well. in the paint cabinet was a can of spray paint, i think the color was called champagne canyon.  just some krylon left over from a project... i sprayed it all over that space, taking care to stay inside the tape.
* let it dry overnight.
* this is where it's confusing to explain. i pulled the tape off.  then i used new tape to cover the edge of the lace and also cover the coral border.  i covered space 1 and space 3 with tape and it created space 2. (whoa, i don't think that makes sense AT ALL?!?!?)  it's just basically exactly where the tape was before- but you need to put down tape to keep your lines straight and keep your colors separate.  i painted that a tan acrylic paint i had.  

anyway.  voila.  funky new look, and somewhat neutral color palette. better than it was. 
and horrible instructions.  sorry.  i'm writing this after a 5 hour playdate with a 4 year old, 3 year old, 2 year old and 1 year old.  fun but, you know. 


  ugh.  next on the list, chair update.  those are looking pretty darn grubby! 


Wednesday, August 29, 2012

project lately: distressed glazed chairs

project lately: distressed glazed chairs


man, do i have the painting bug.  this past couple weeks, i've painted anything i could get my hands on. kids chairs, outside fridge (pink!!!) , kitchen chairs, benches, kids table, bookshelves, pantry doors, bathroom door, front door. 


waking up with the girls at 6:30, getting them a bowl of cheerios and getting to work in the driveway before it gets too hot.  those chicks are awesome at having some outside fun:  drive the gator, play in the sand box, paint with water in the driveway and sidewalk chalk until they're as dirty as you can get- then it's the hose and the kiddie pool and inside for some bananas and grapes.  


meanwhile, i get my paint on.  

i bought some chairs for 100 bucks on craiglist a bit ago and they sat in the garage until i got around to buying my materials.  they are great- sturdy, awesome carved detail and best of all they all MATCH.  for whatever reason, when we moved in, i thought a mismatched set of chairs would look.... quaint? cute? hello- totally random and not good. 

i was ready for something new. 

took those babies outside and covered them with a coat of antique white paint. (and no, i didn't sand. partly because i was going for a distressed look in the end.  but mostly because i am LAZY, LAZY, LAZY) and good gracious, that painting took FOREVER! there are 8 spindles on the back of each chair as well as 4 legs, with 8 horizontal supports on every chair! so many little spots i would miss.  so i just went inside and then came out and touched up. many times. 

 
they actually were really pretty all white.  but i knew kiddo's grubby hands, my messiness in the kitchen and craft projects would have them dingy in no time. 

i had read about brooke's (her blog all things thrifty is one of my faves) glazing projects many times and loved how they turned out. so i read once more her glazing 101 post, took a deep breath and destroyed my lovely white results! 
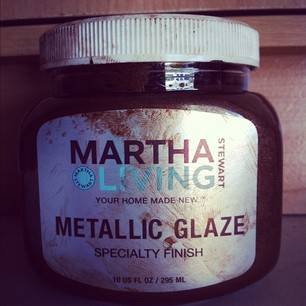
bought martha stewart's metallic glaze from home depot. i used the color muscovado.  followed brooke's instructions: wipe on glaze, wipe off with a wet cloth.  by this time, my sweet hubs came to help.  we wiped on and wiped off to our hearts content.  left it thick in some spots and more off in others. 
 
by no means perfect but i LOVE how they turned out.  the details up top are just gorgeous and they look aged and well loved.  they look fantastic around my old dining table.  they are comfy for sitting around and i can't wait to enjoy a meal with others, sitting there long after dinner's over.  
so give glazing a try!  so fun. 


meanwhile, while writing this post, someone got into the nutella.  can't say i blame her.